In Appointment Book, you can delete appointments that are scheduled in a particular clinic with dates before a specified date. You can use the appointment purge utility when completing your month-end routines or as needed.
Notes:
In Appointment Book, purging appointments deletes appointments that are scheduled in only the clinic that is assigned to the view that is currently being used. To purge appointments that are scheduled in all clinics, use the appointment purging utility in Office Manager.
Purging appointments requires the "Appointments, Purge" security right.
To purge appointments for the clinic being viewed
In Appointment Book, on the File menu, click Purge Appointments.
If applicable, do one of the following:
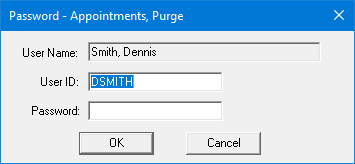
If the Password - Appointments, Purge dialog box appears, user verification has been assigned to the "Appointments, Purge" task. Do one of the following:
If your user account has been granted the "Appointments, Purge" security right, enter your credentials in the User ID and Password boxes, and then click OK.
If your user account has not been granted the "Appointments, Purge" security right, have a user with permission temporarily override this restriction so you can purge appointments this one time. The overriding user enters his or her credentials in the User ID and Password boxes and then clicks OK.

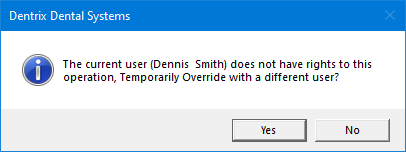
If a message appears, informing you that you do not have rights to this operation, your user account has not been granted the "Appointments, Purge" security right. To have a user with permission temporarily override this restriction so you can purge appointments this one time, do the following:
On the message, click Yes.

In the Password - Appointments, Purge dialog box, the overriding user enters his or her credentials in the User ID and Password boxes and then clicks OK.

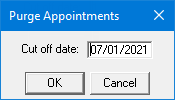
The Purge Appointments dialog box appears.

In the Cut off date box, enter a date. All appointments that are scheduled in the current view's clinic with dates before the specified date will be deleted.
Click OK.
A confirmation message appears.
Click OK.